How to Make Elderberry Syrup for Immune Support
If you’ve spent any time in the natural health world, you’ve probably heard of elderberry syrup—and for good reason. This time-tested remedy is loaded with immune-boosting properties and has become a go-to for families wanting to fight off colds and flu naturally.
In our home, it’s a staple. We use it daily through cold and flu season and ramp it up at the first sign of sniffles. The best part? You can make it yourself with just a handful of ingredients—and it costs a fraction of what store-bought versions do.
Why Elderberry?
Elderberries (Sambucus nigra) are packed with antioxidants and vitamins that may help reduce inflammation, support heart health, and strengthen your immune system. Studies have even shown that elderberry syrup can reduce the severity and duration of influenza symptoms when taken at the onset of illness.
- High in vitamin C and antioxidants
- Antiviral properties (especially effective against cold & flu viruses)
- May reduce duration of illness
- Supports respiratory health
- Naturally anti-inflammatory
How to Make Elderberry Syrup
Ingredients (Makes 1 Quart):
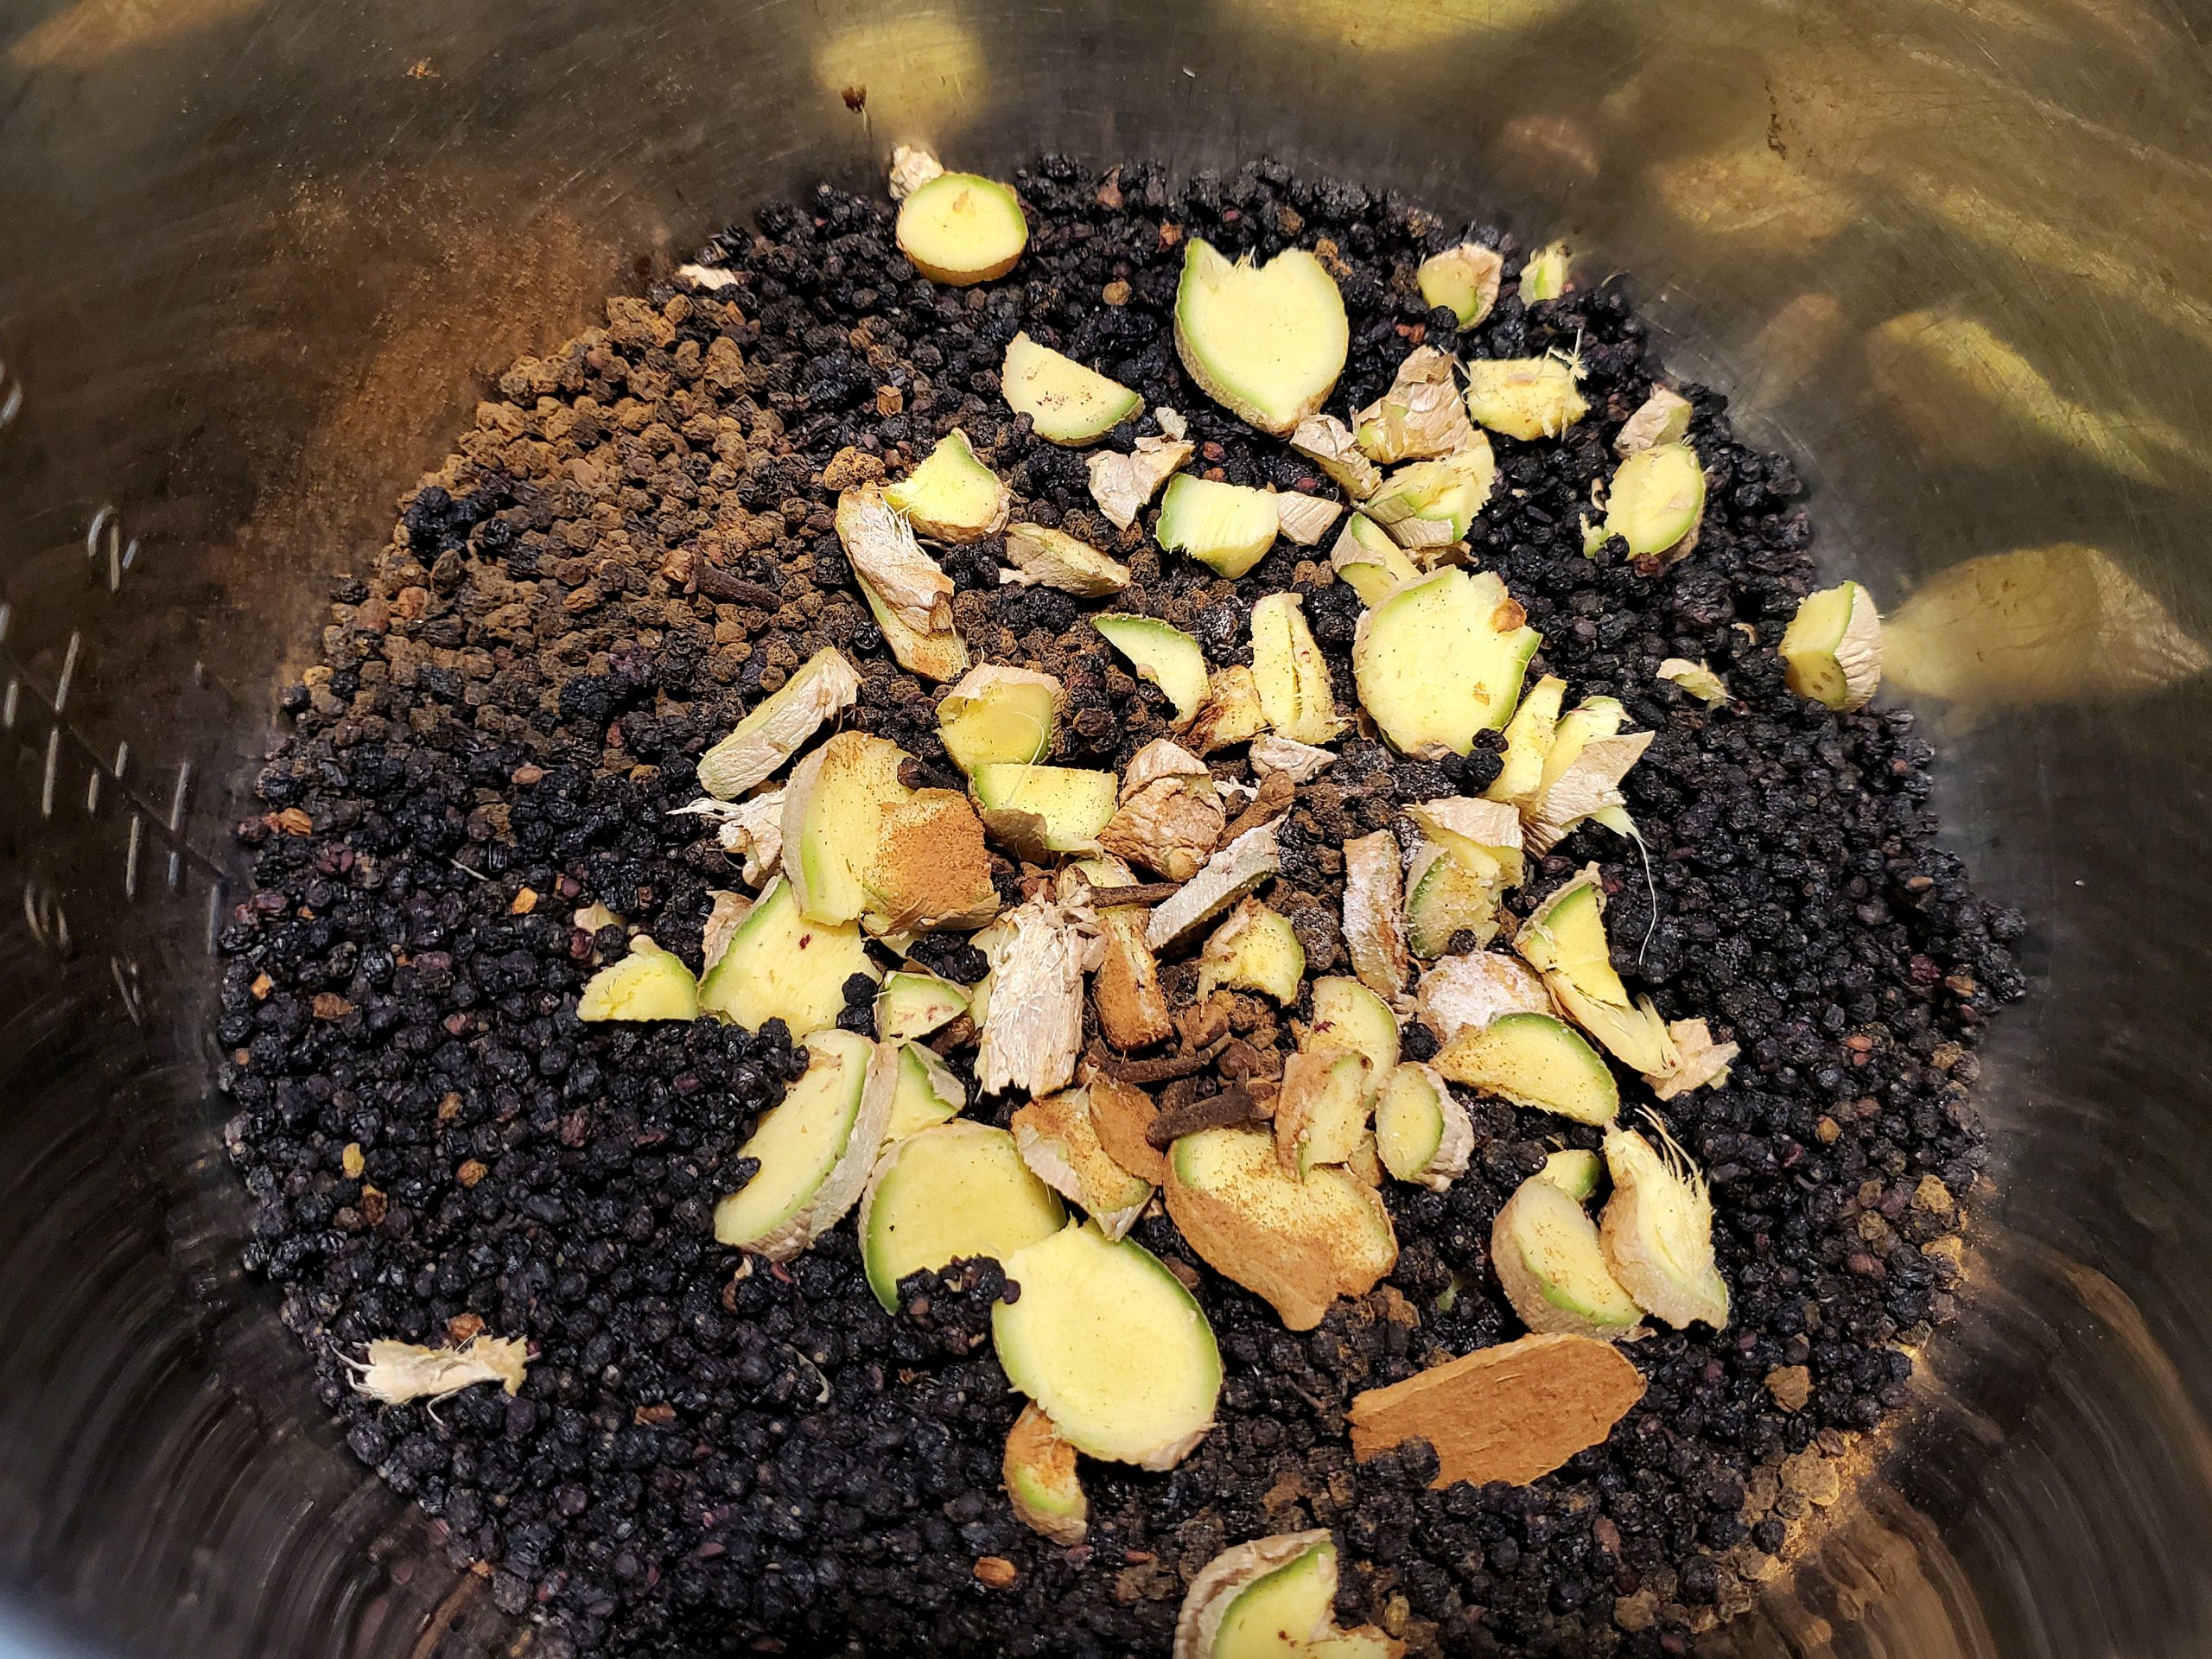
- ½ cup dried elderberries
- ⅓ tsp powdered ginger
- ⅓ tsp cinnamon
- ⅛ tsp ground cloves
- Pinch of salt
- 3 cups water
- 1 cup raw, local honey (added after cooling)
Instructions:
Pressure Cooker Method:
- Add all ingredients except honey to the pressure cooker.
- Cook on high pressure for 120 minutes.
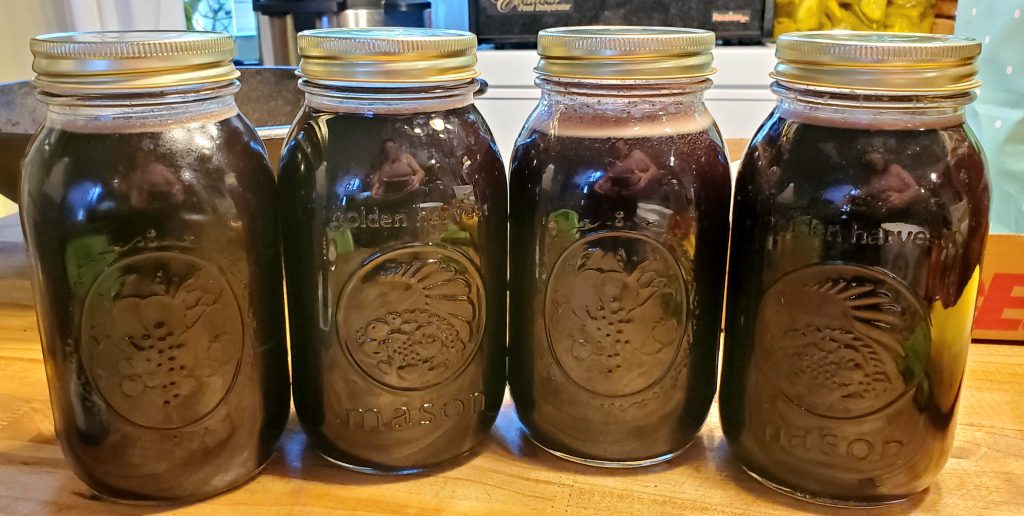
- Let depressurize naturally. Strain into a quart jar.
Stovetop Method:
- Add all ingredients (except honey) to a covered pot.
- Simmer on low for 8 hours, keeping the lid on to prevent evaporation.
- Strain into a quart jar.
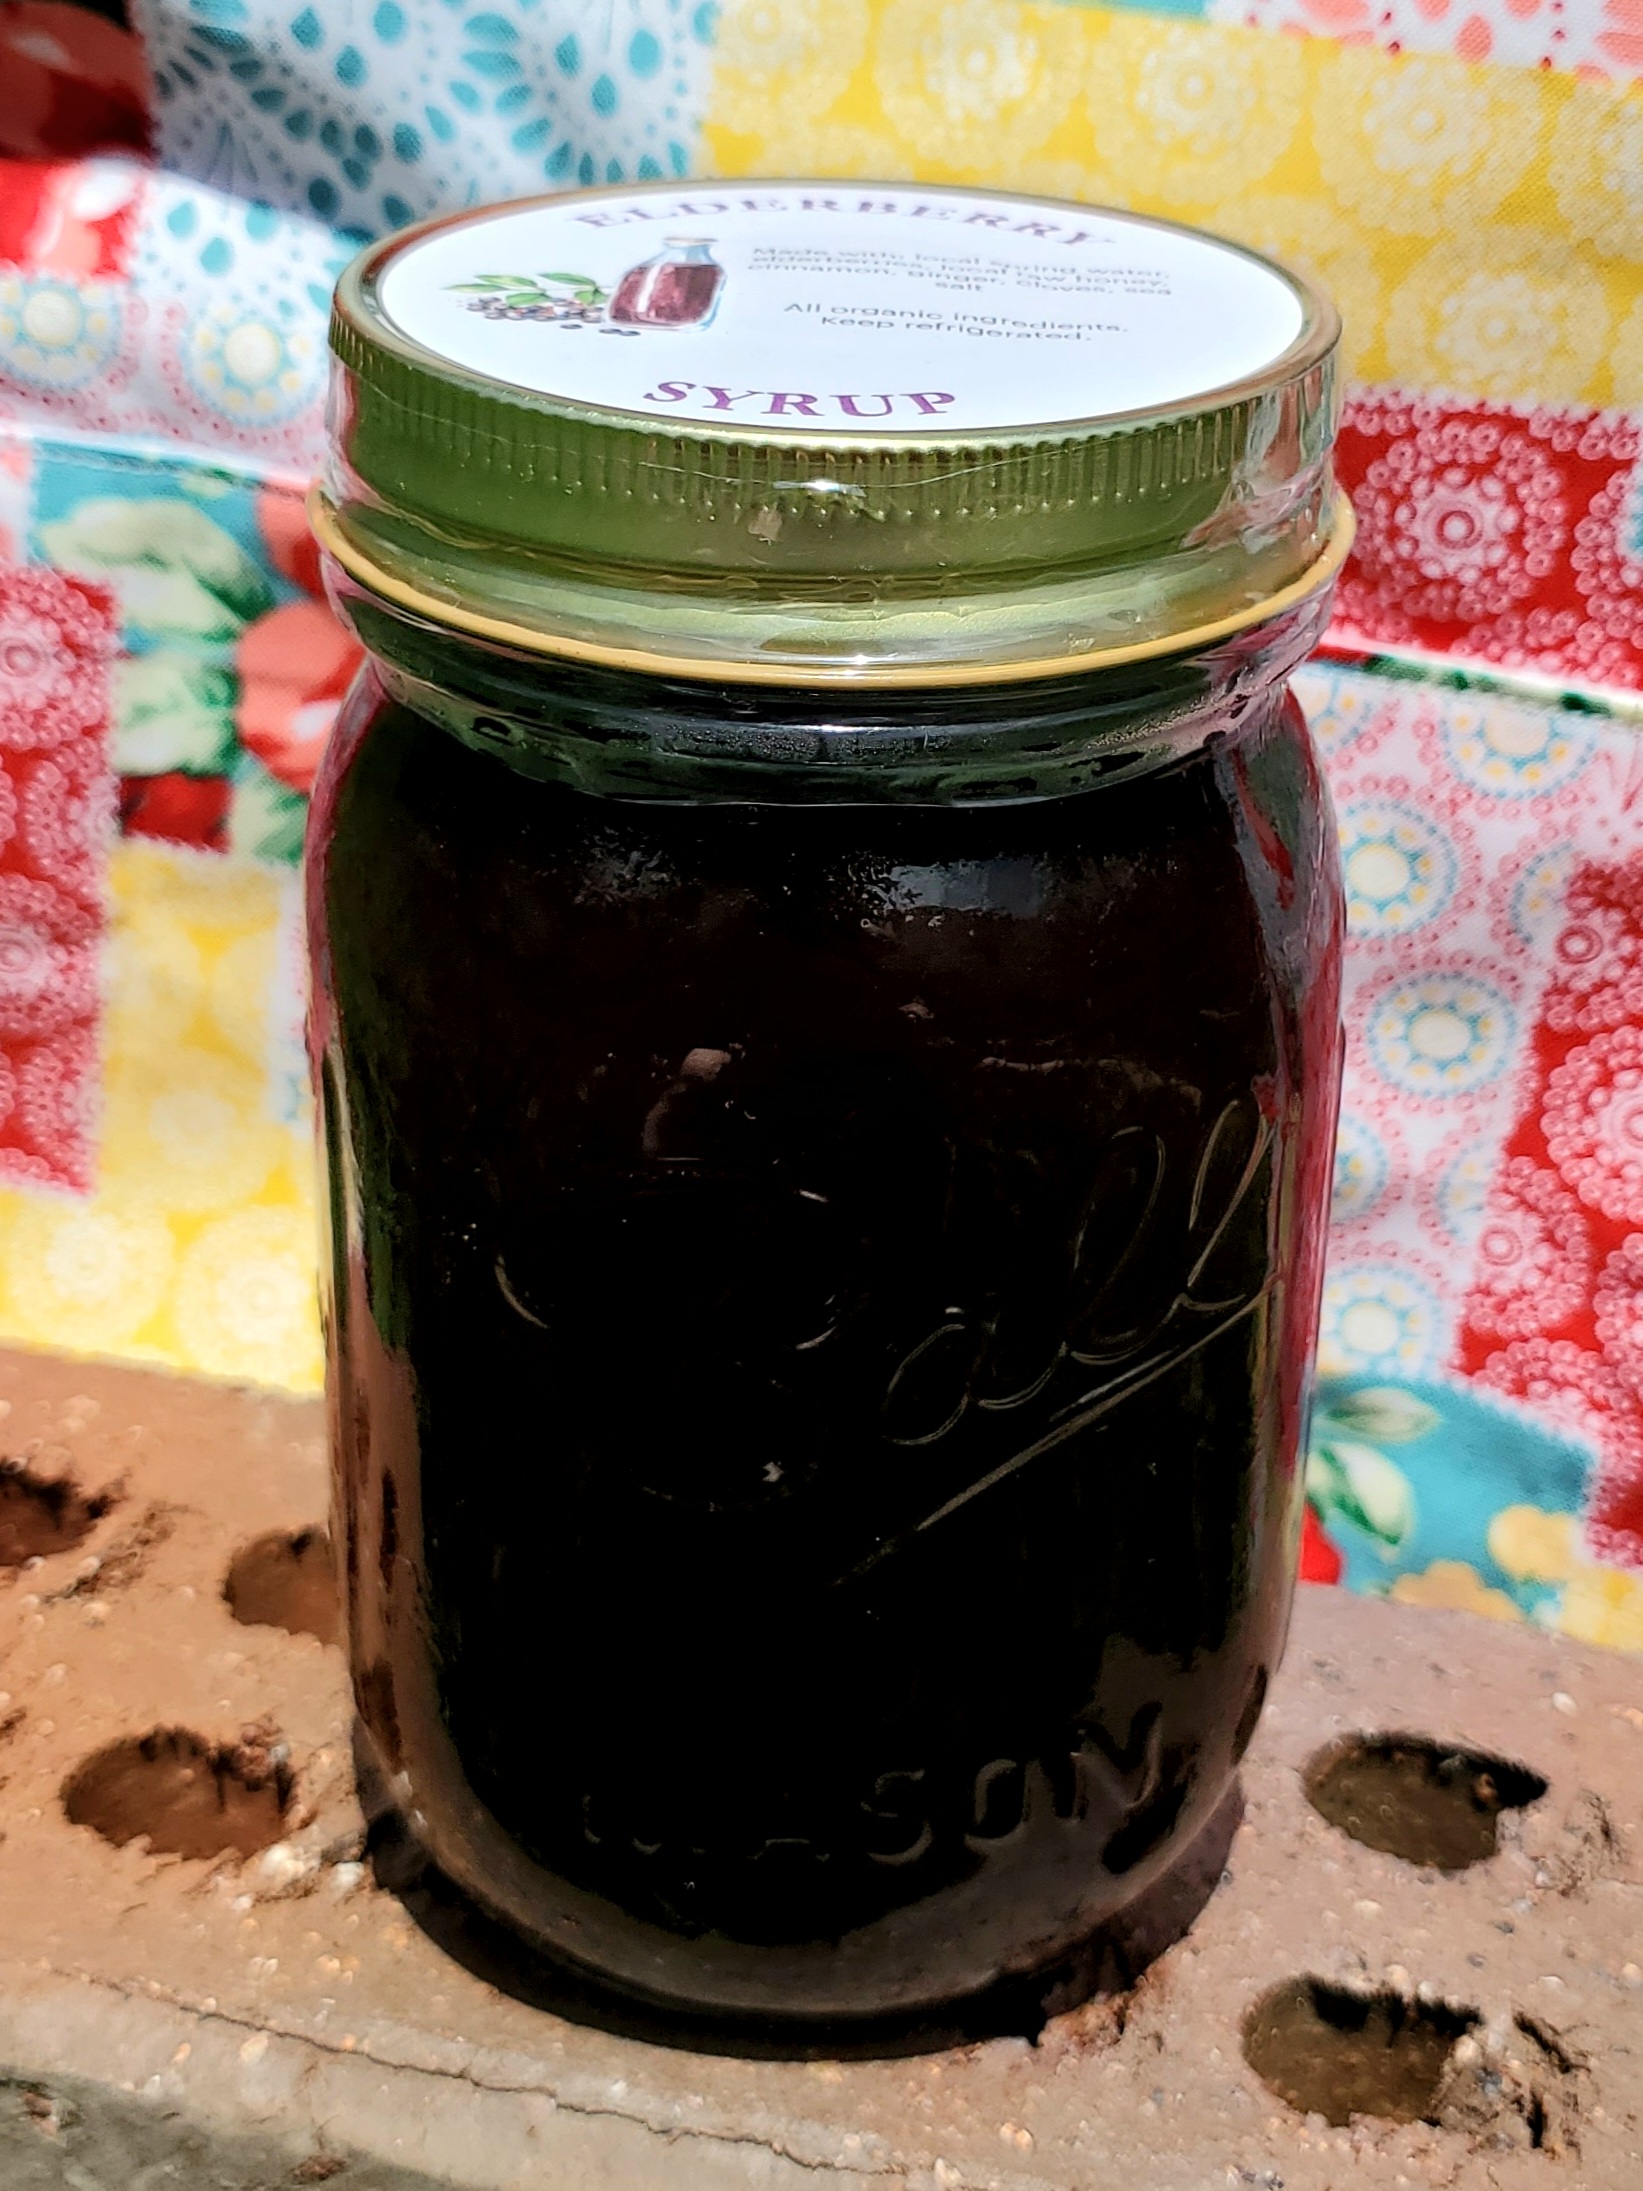
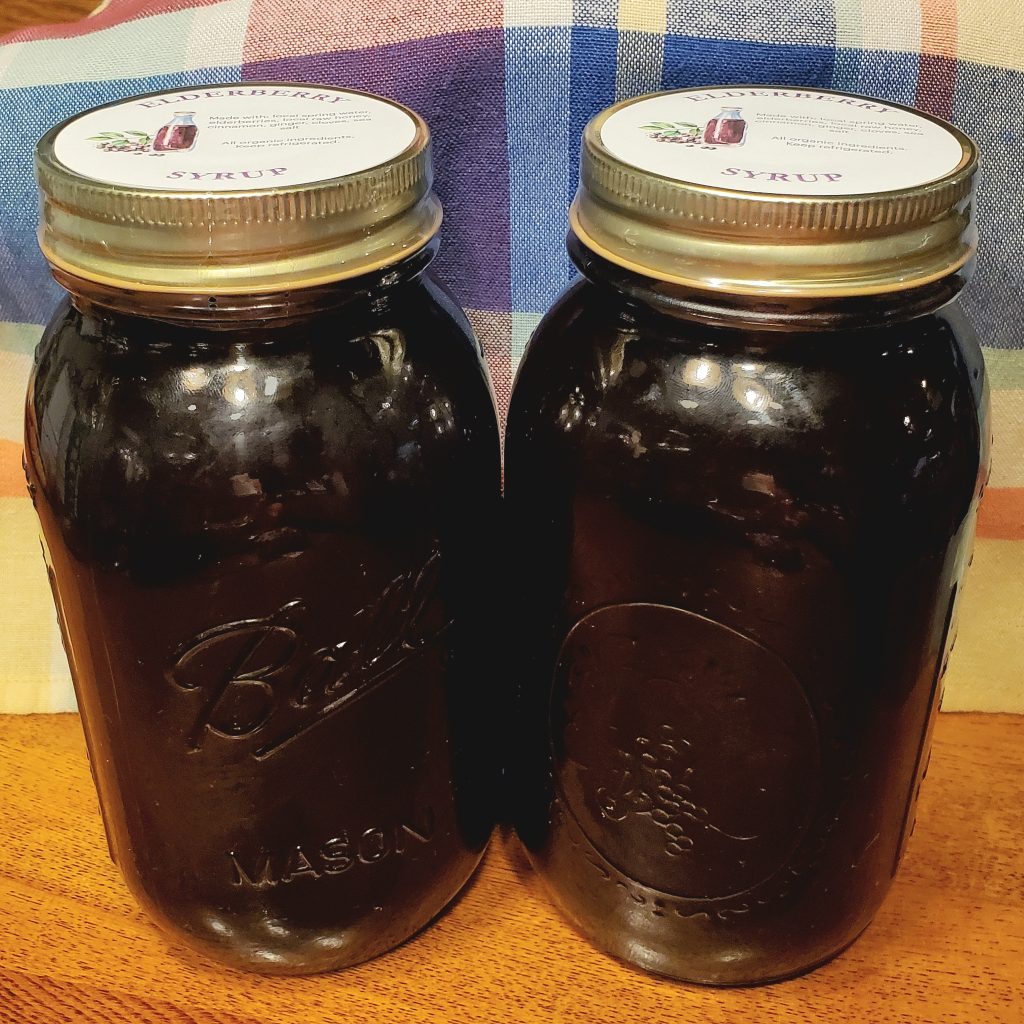
Let the syrup cool to room temperature, then stir in 1 cup of raw honey. Store in the fridge for up to 6 months. Shake before each use.
Suggested Dosage:
- Daily support: 1 Tbsp per day for adults | 1 tsp for children over 1
- At first sign of illness: Take every 3–4 hours until symptoms improve
Growing or Foraging Elderberries

Whether you’re planting elderberries in your own backyard or foraging them in the wild, these antioxidant-packed berries are surprisingly accessible — if you know what to look for.
🏡 Growing Elderberries
Elderberries (typically Sambucus nigra or Sambucus canadensis) are hardy, fast-growing shrubs that thrive in USDA zones 3–9. They’re low-maintenance and incredibly rewarding, especially if you’re aiming for a self-sufficient herbal medicine cabinet.
Tips for happy elderberry bushes:
- Sunlight: They prefer full sun but will tolerate partial shade.
- Water: Elderberries LOVE water. Keep the soil consistently moist, especially during fruiting season.
- Soil: They’re not too picky but thrive in loamy, well-draining soil with a slightly acidic pH (5.5–6.5).
- Spacing: Give each bush 6–10 feet of room to spread out — they can get big!
- Pollination: You’ll get better yields with at least two different varieties for cross-pollination.
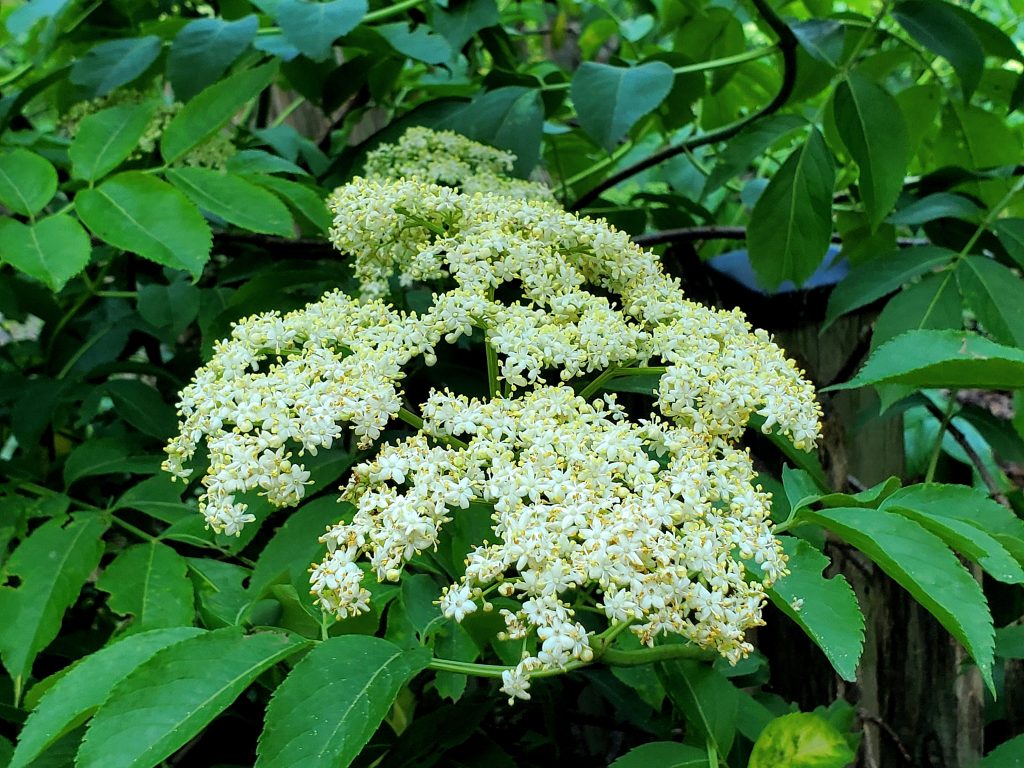
Once established, elderberry bushes can produce fruit in their second or third year and will bless you with clusters of white flowers in early summer, followed by dark purple berries by late summer.
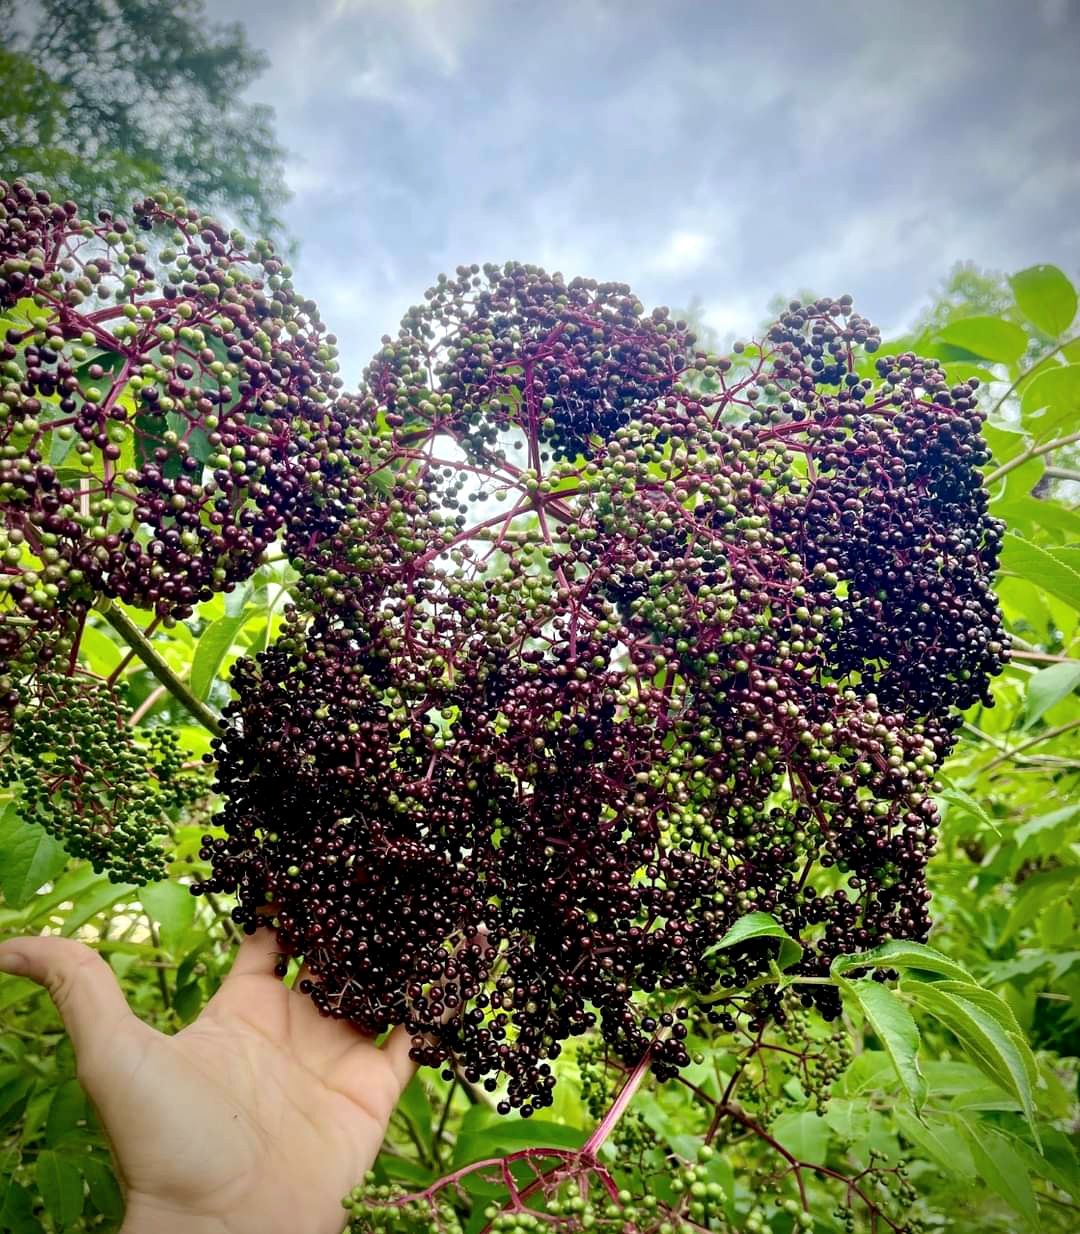
🌾 Foraging Elderberries
If you’re more of a wild woman (or man) and prefer to forage, elderberries are commonly found along roadsides, creek beds, woodland edges, and fence lines — basically anywhere slightly damp with decent sun.
How to identify wild elderberries:
- Leaves: Long, compound leaves with 5–7 leaflets that are serrated and opposite on the stem.
- Flowers: Flat-topped umbels of tiny, creamy-white blossoms (appear late spring to early summer).
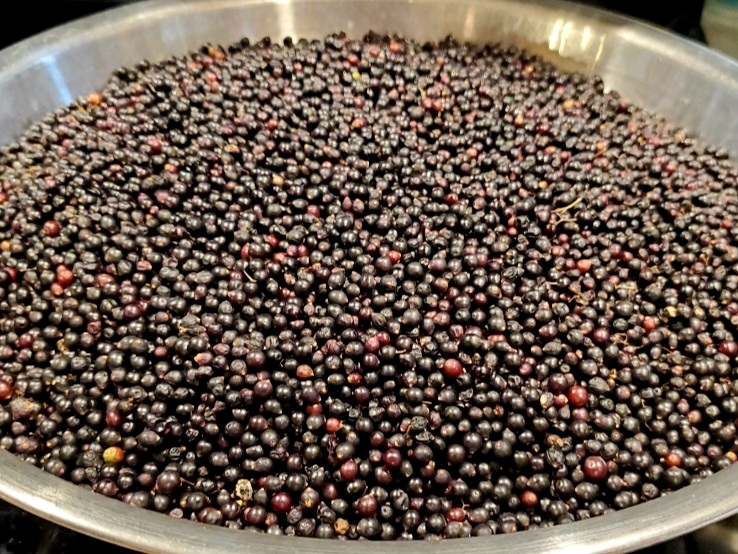
- Berries: Small, dark purple to black berries that grow in clusters hanging downward like an umbrella. NEVER eat red elderberries — those are from a different species and are toxic when raw.
Always positively identify elderberries before harvesting. Many plants — including water hemlock and pokeweed — can look similar but are highly toxic.
Only harvest ripe berries, and never eat them raw — they contain compounds that can cause nausea or worse if not properly cooked.
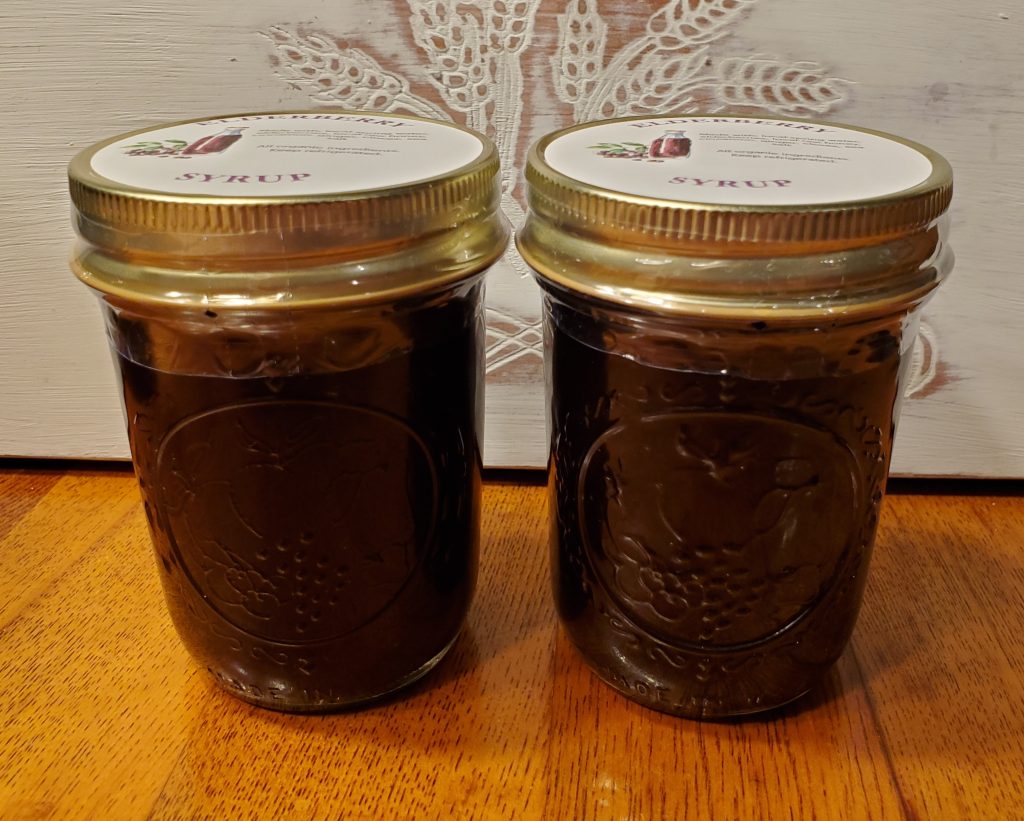
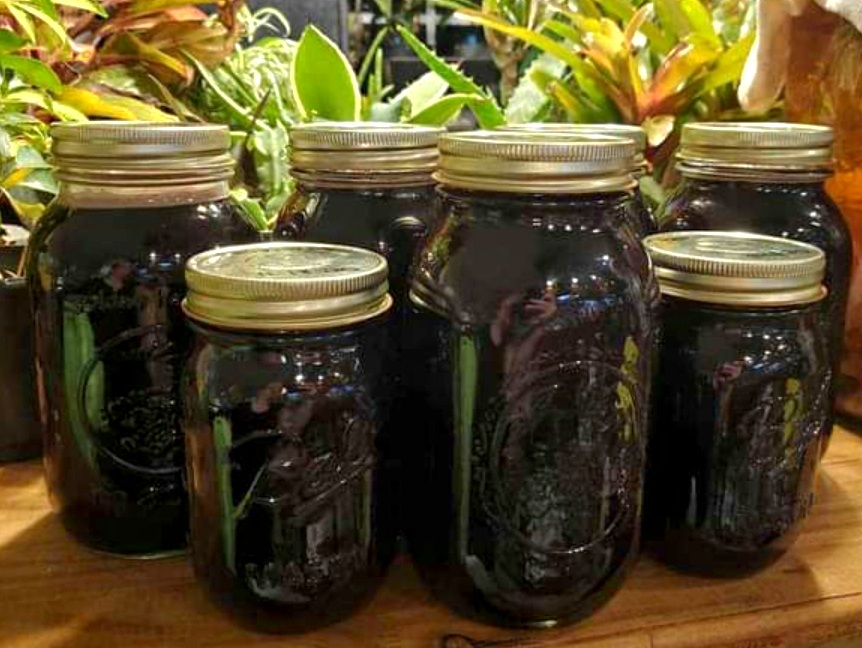
Finished Product Gallery
Download the Recipe
📌 Click here to download your free Elderberry Syrup Recipe PDF
🍯 Final Thoughts
There’s something deeply satisfying about making your own elderberry syrup — especially when you’ve grown or foraged the berries yourself. Whether you’re building your home apothecary, prepping for flu season, or just looking for natural ways to support your immune system, elderberry syrup is a time-tested remedy worth having on hand.
Remember: consistency is key. A daily spoonful can help keep your body resilient, and when sickness hits, those extra doses can make a big difference. Plus, when you make it yourself, you control the ingredients — no mystery additives, just wholesome goodness.
Have questions about the process? Want to share your own elderberry harvest? I’d love to hear from you in the comments below!


You May Also Like

A Most Curious Find: The Ant with a Trophy

My 5 Favorite Garden Tools on Amazon (That I Actually Use!)